As satisfying as a well-written recipe, a smart and thoughtful DIY is our kind of lunch break reading. Bonus points if it's an easy project AND teaches us how to make something beautiful.
Today: With advice from the experts at Pistils Nursery, Amanda builds a layered terrarium fit to survive a dry New York winter.
The first rule of making a terrarium is that you don't talk about making a terrarium -- you just go buy one. But who likes following rules? If you've got a spare half hour, enjoy saving cash, and like the idea of customizing your own, consider building a terrarium from scratch. It took me less time than I usually spend cooking dinner to put this one together, and I'm no expert gardener.
The key is to arm yourself with a thoughtful shopping list before you hunt for plants and soils; all of these items should be available at a gardening or craft store. Thanks to a wealth of technical planting advice (and encouragement) from Jesse Waldman at Pistils Nursery, putting a beautiful, long-lasting terrarium together is actually a cinch.
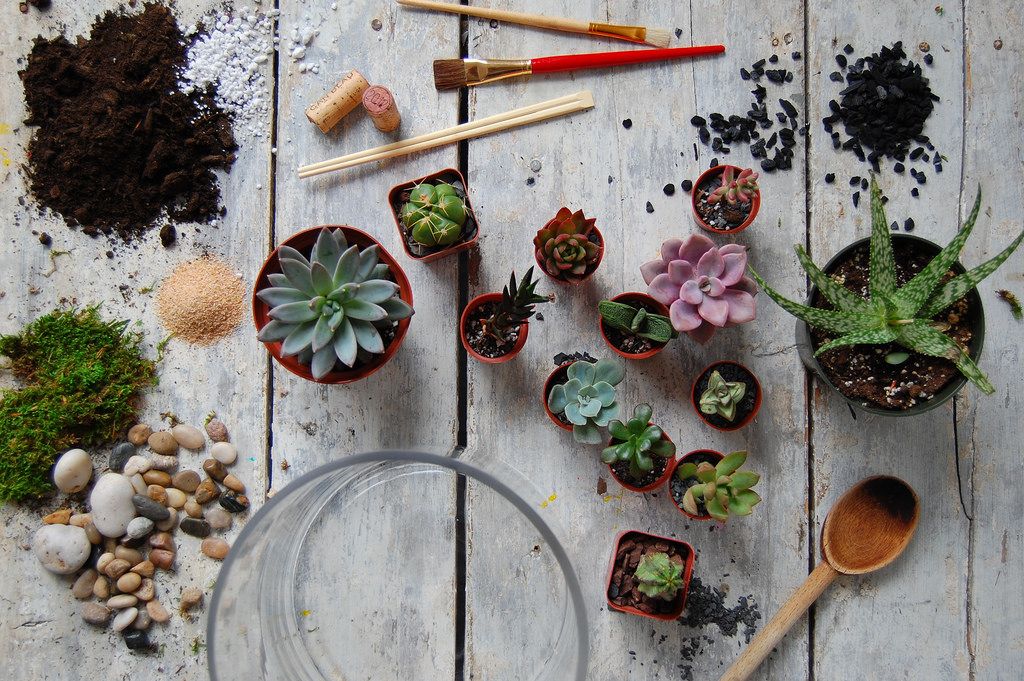
What You'll Need:
A glass container, with an opening at the top large enough to stick your hand through
Small pebbles
Activated charcoal
Potting soil
Pumice, 1 part for every 4 parts soil
A wooden spoon
A wine cork
A chopstick
A stiff paintbrush
Succulents and cacti of your choosing
Sand, moss, and larger pebbles (optional), for decorating
How to Build Your Terrarium:
1. Pick your plants: If you want your terrarium to survive in addition to looking nice, choose plants that grow in similar native conditions. Since New York winters are abominably dry, I decided to work with succulents and a rogue cacti, since they don't need much moisture to thrive.
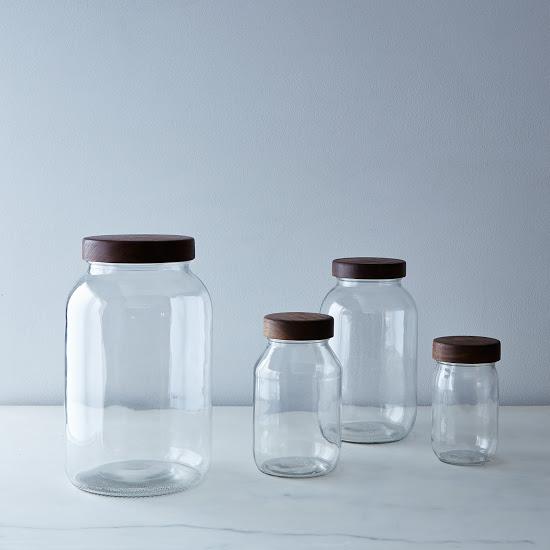
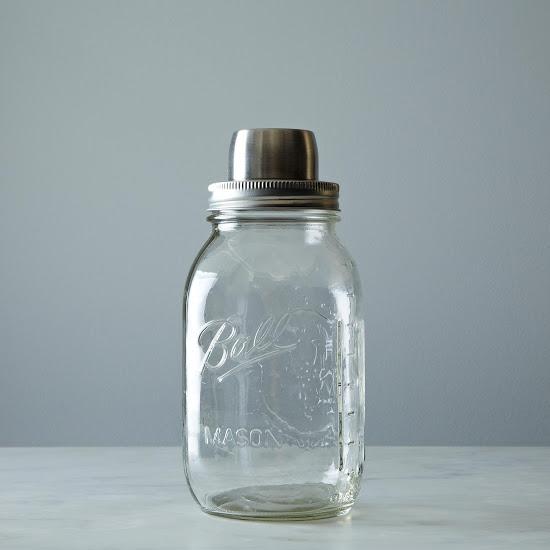
2. Choose your container: Select any glass vessel that has a large enough top opening to stick your hand through (unless you enjoy being very, very frustrated); it doesn't need a hole for drainage on the bottom. A simple glass hurricane like the one I used is inexpensive and available at any craft or gardening store, but cookie jars, canning jars, and even pitchers all make beautiful terrariums. Just keep in mind that raised designs on the glass can obscure the view of your plants from the side.
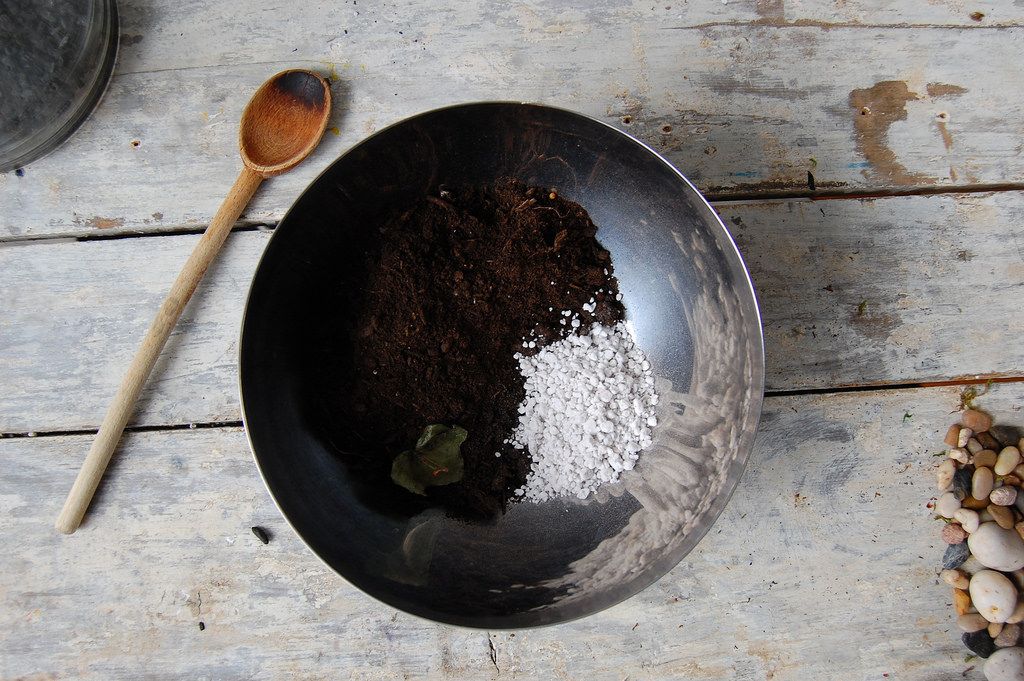
3. Blend your soil: The ratio of soil to pumice (the crumbly white pebbles of volcanic stone you've seen in your mom's pansy planters) determines how much moisture your plants will retain, so measure accordingly. Succulents do well on a blend of 1 part pumice to 4 parts soil, and cactus like to be even drier: use 1 to 1 or 1 to 2, pumice to soil. Tropical plants, like ferns, do fine on straight potting soil. Measure enough dirt to cover the roots of all your plants, adding more if you want a thicker layer, and mix with pumice if using. (For a large container like this one, I used about 10 cups total.)
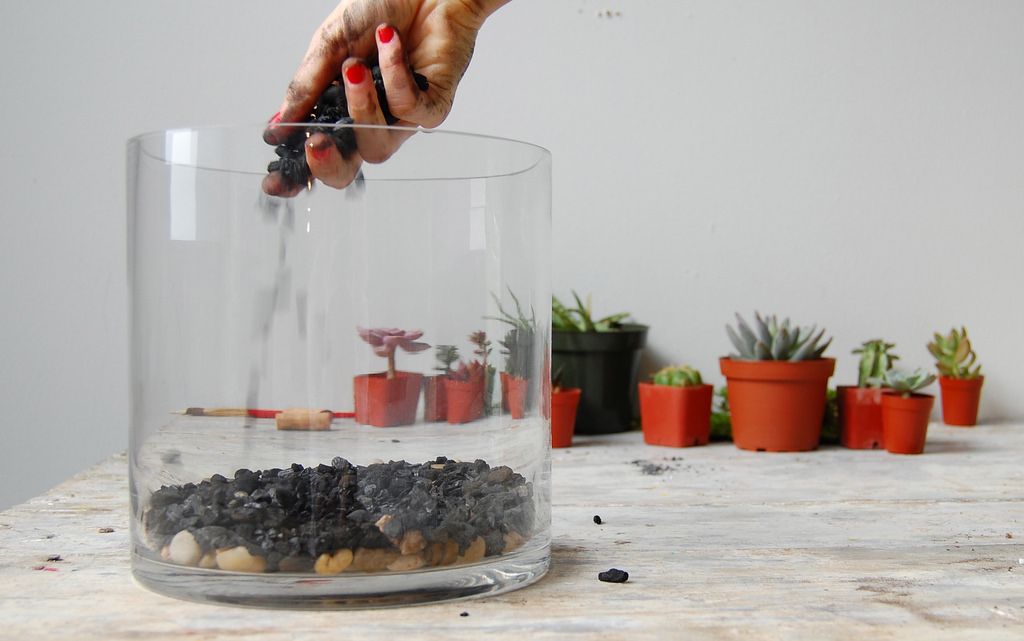
4. Layer the base: Start off with a half-inch of pebbles, followed by a half-inch of activated charcoal (which will get all over your hands and your face, but will not harm you). The first layer is where moisture will accumulate, since there's no room for drainage; the pebbles serve as insurance against overwatering. The charcoal acts like an antimicrobial to help keep your plants from rotting. It's also porous and absorbs excess moisture.
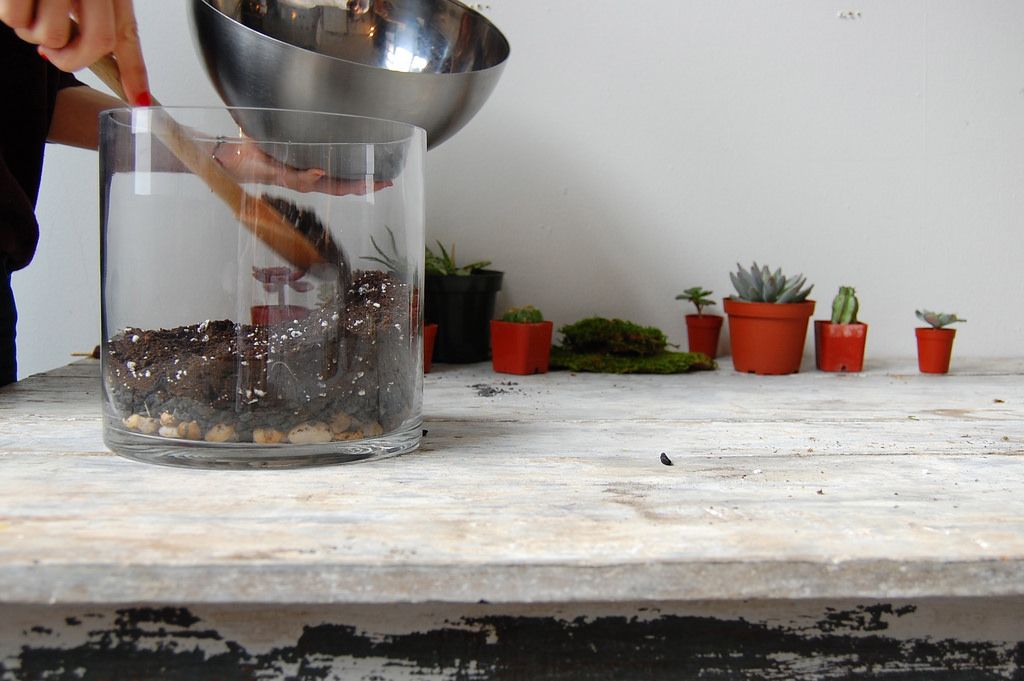
5. Envision and shape the terrain: Before adding the soil, decide how you want your arrangement to look. Will the environment be even across, or sloped with peaks and valleys? Which plants will go in the middle, and around the edges? How many will fit? Add a few inches or more of soil and shape it to create an interesting terrain for your plants.
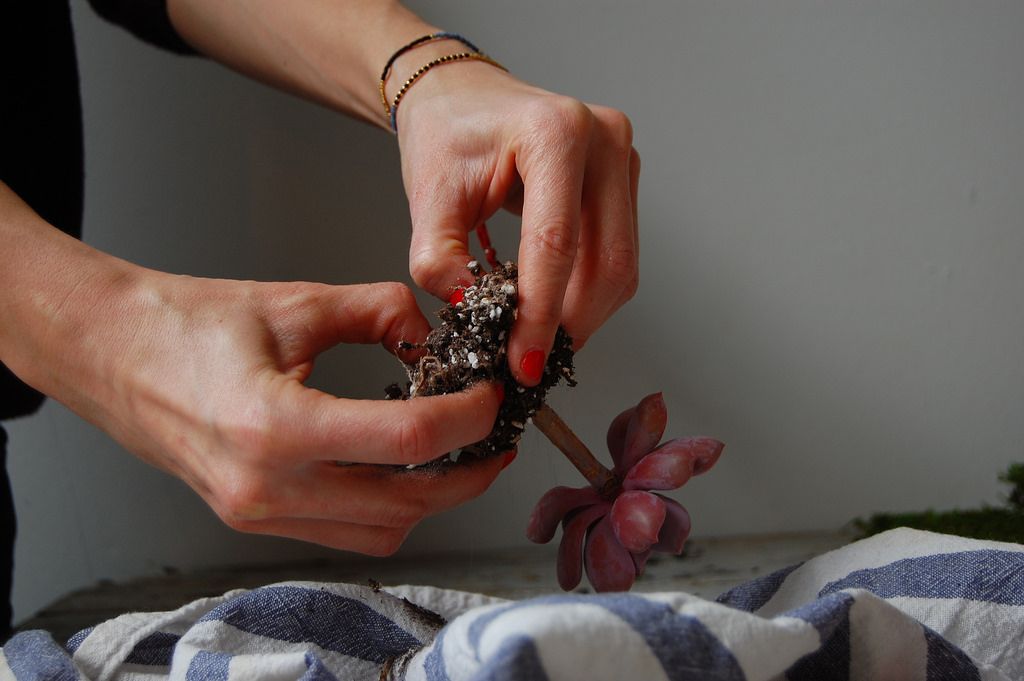
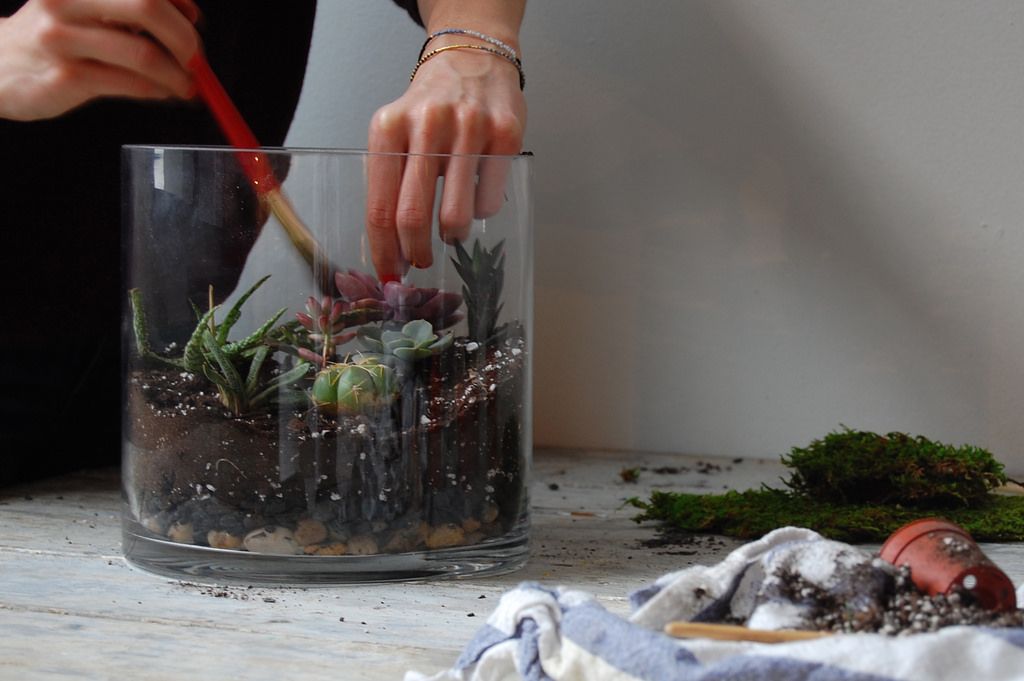
6. Loosen the roots, and landscape: When you take your plants out of their containers, gently loosen the soil from the roots and tease them apart, which prepares the plants to change environments and get settled in a new home. Then, arrange the plants according to your plan (or, completely diverging from it as I did), and top with more soil to cover the roots.
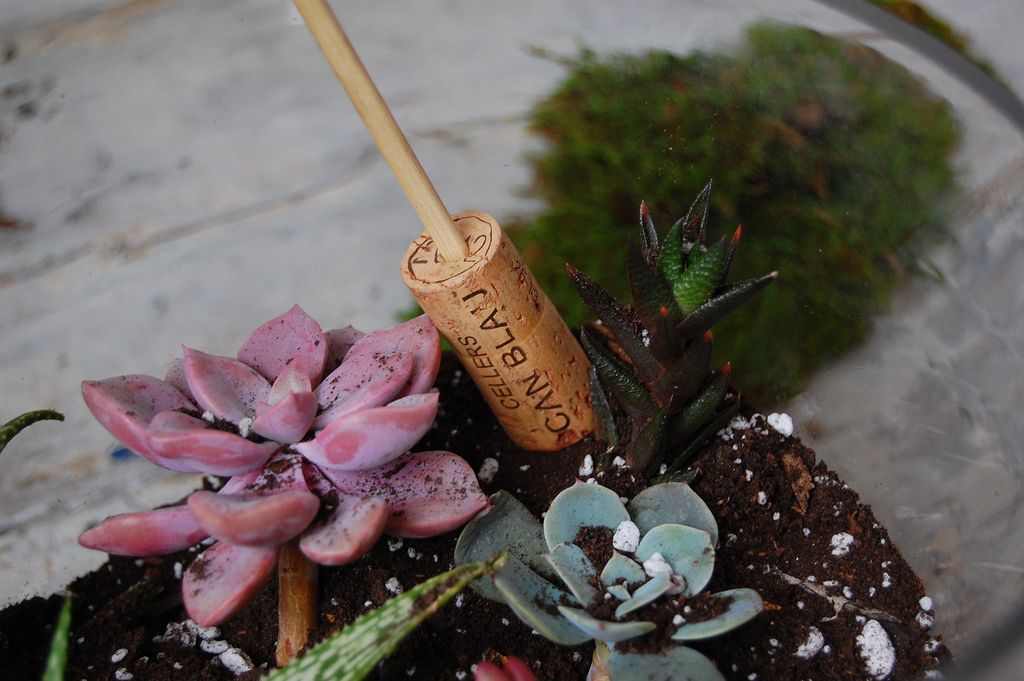
7. Get rid of air bubbles and clean up. Stab the end of a wine cork with a chop stick to create a makeshift soil tamper, and use it to tap out any air pockets that are lingering below the surface. Then, use your paintbrush to clean off any soil that's crept up on the sides of the glass via magic and/or static electricity, and also to dust dirt off your succulents.
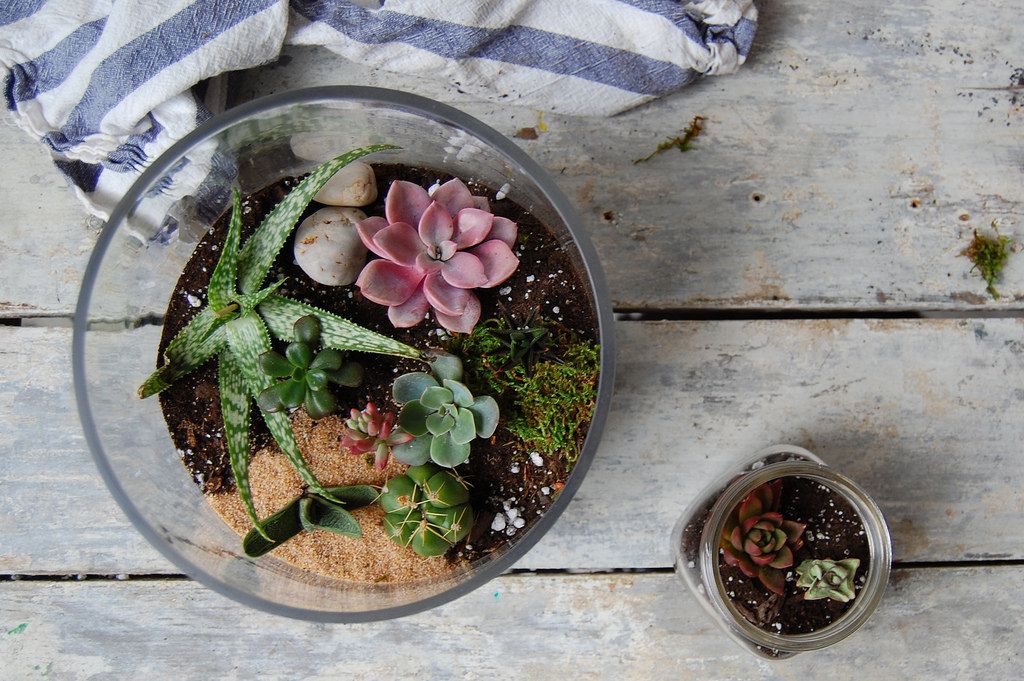
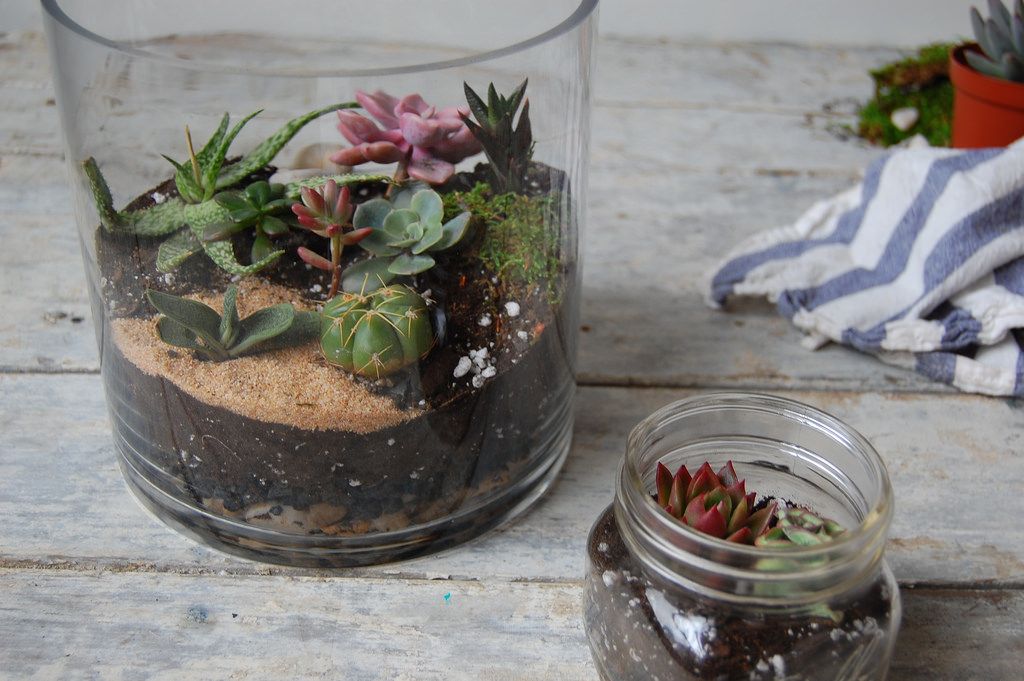
8. Accessorize: Avoiding any synthetic decorations (which might contaminate the soil when watered), decorate your landscape with pebbles, moss, and sand. I gave my cacti corner a little sandy surface to remind him of home.
9. Care: Though many people will suggest feeding your terrarium just an ice cube per week, a better strategy is to look at the plants and let them tell you when they need water. A succulent will pucker at the base of the leaves when it needs water, and will get mushy (a sign of rotting) when over-watered. Wait for signs of thirst before watering (since they don't require much) and then add just enough to get the soil wet -- you don’t want there to be a pool accumulating on the bottom. In fall and winter, water succulents and cacti once a month or once every 2 months (and every 1 to 2 weeks in the spring and summer).
Photos by Corynne Pless
Written by: Amanda Sims
Popular on Food52
10 Comments
For terrarium enthusiasts, this was a very nice article published in The New York Times a while ago: http://www.nytimes.com/2010/06/03/garden/03terrarium.html
See what other Food52 readers are saying.